We create access to innovative technologies
that can be integrated into the school context
Project duration: September 2023 – August 2025
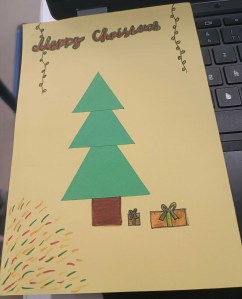
Christmas workshop with Pocket Code at a secondary school
TU Graz collaborated with a middle school to create beautiful Christmas cards with students. The students programmed simple geometric patterns, which were cut out of colorful paper using the (cutting) plotter. The students programmed, operated the cutting plotter, and then created personalized Christmas cards. Here are some impressions of the Christmas cards. Tutorials (in german) for the cards can be found here.


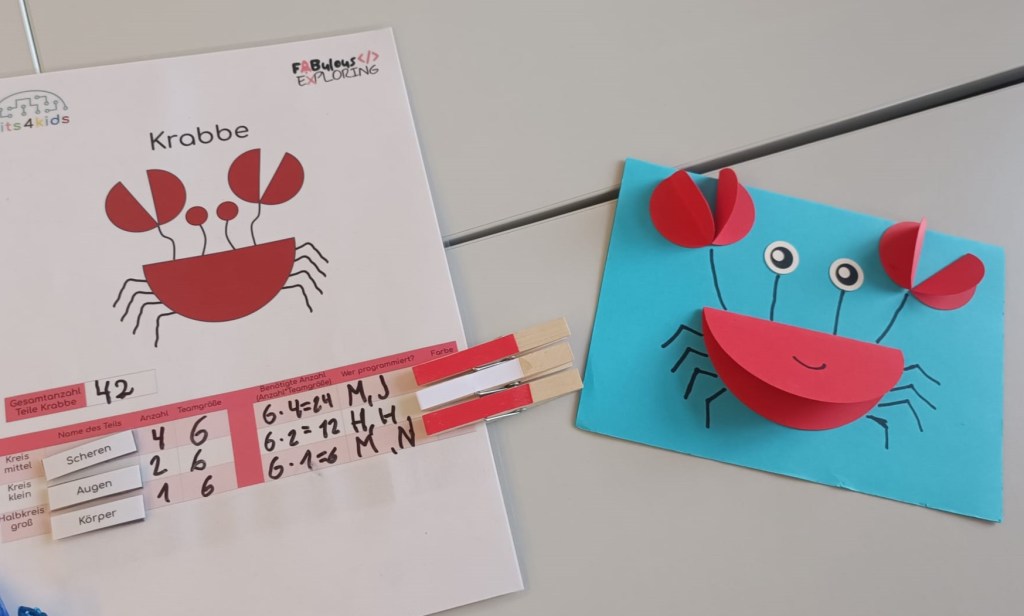
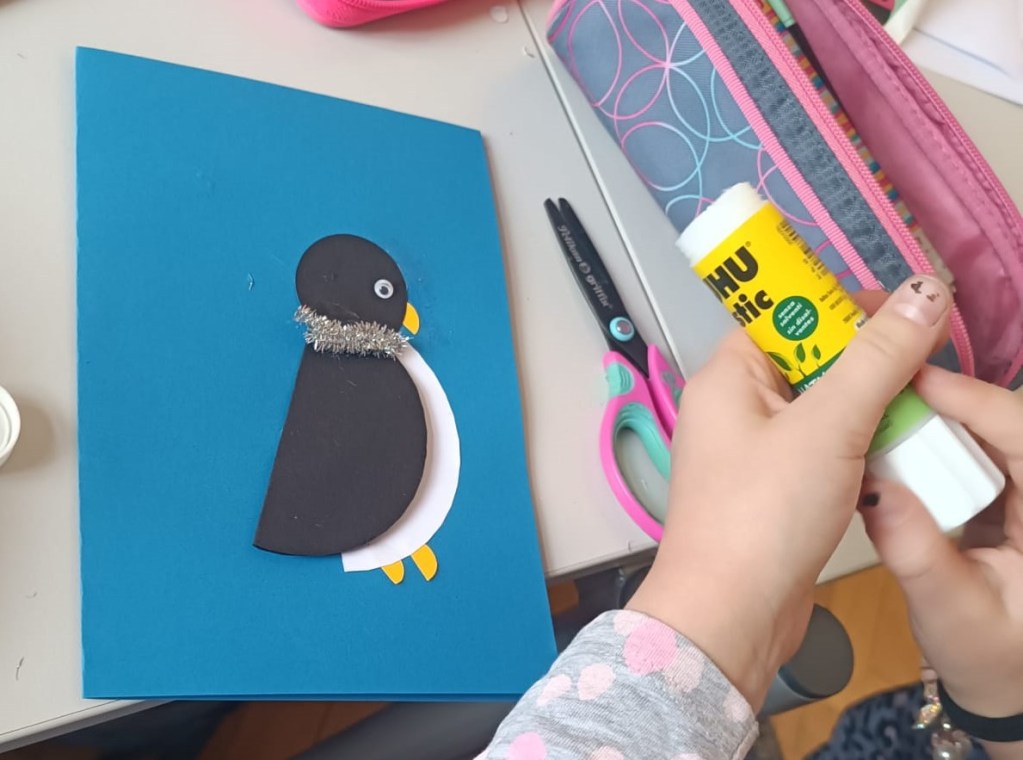
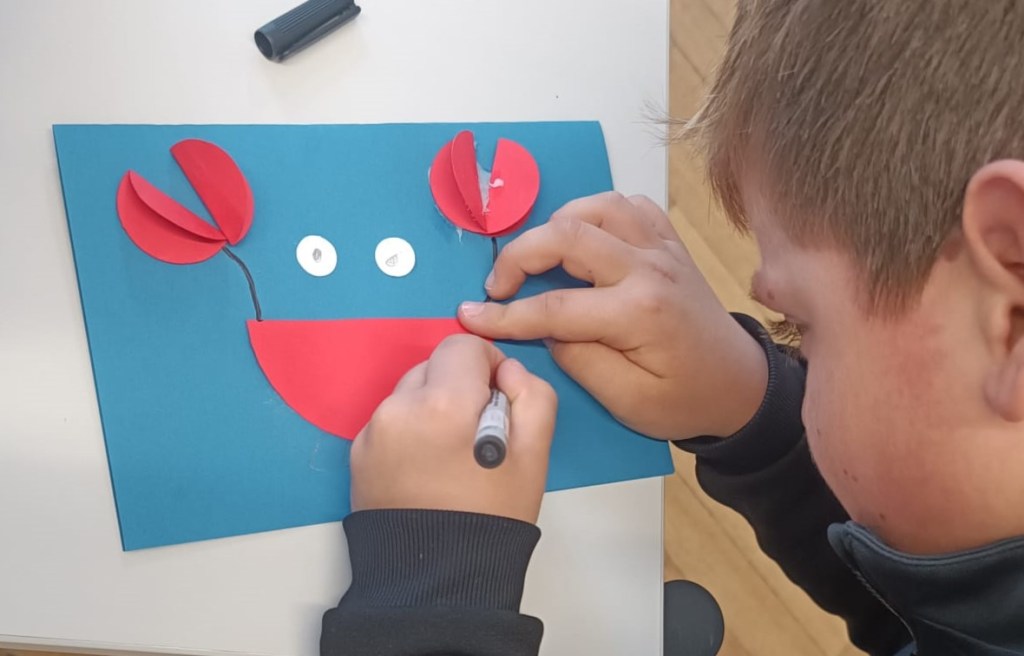
Code’n’Cut Workshops with Pocket Code in primary schools
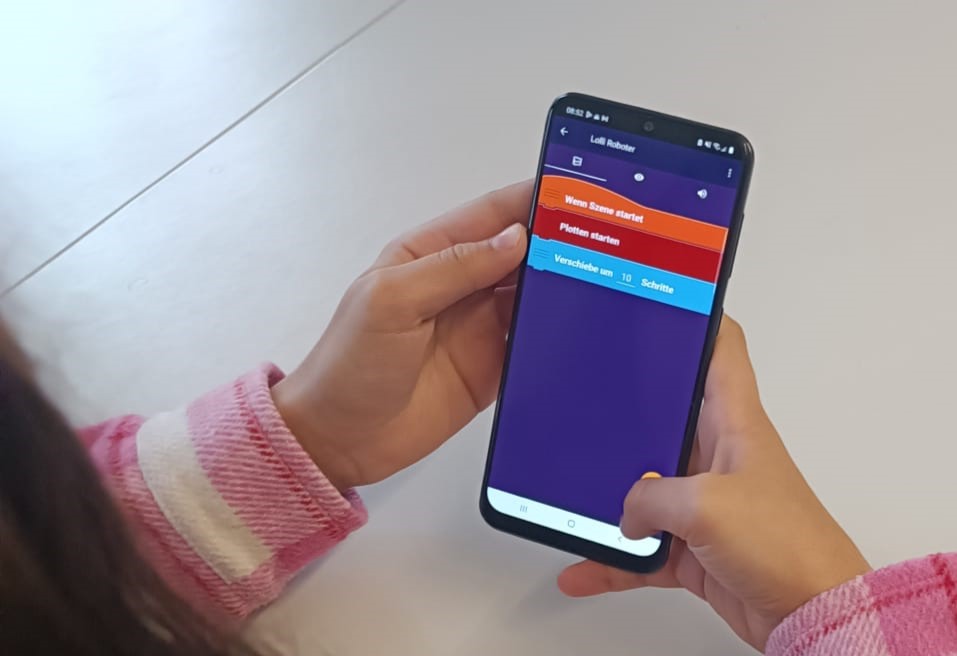
TU Graz has expanded the Pocket Code and Embroidery Designer app with the Plot category. This new category includes blocks that can be used to create a design for a (cutting) plotter, generating an SVG file that can be read and cut by the cutting plotter.

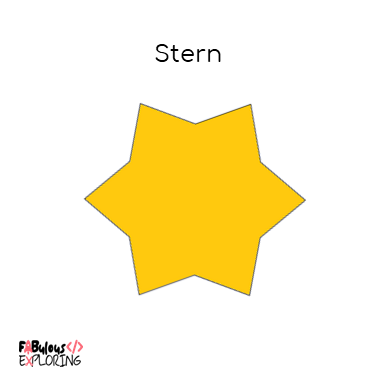
bits4kids launched the second series of the Code’n’Cut workshops in November 2024. In this exciting workshop, the children created animal motifs using a cutting plotter, which consisted of colorful circles. After programming the circles themselves, they were able to design the results into creative, colorful, and engaging cards. Through the workshop, the elementary school students experience hands-on programming, which not only imparts technical skills but also boosts their self-confidence and encourages them to think creatively and develop new ideas.

DIY and programming workshops at CoSA
In an increasingly digitalized world, it is important for children and adolescents to develop both practical and digital skills. Therefore, we are pleased that we, as CoSA – Center of Science Activities, can be part of the “Fabulous Exploring” project. The aim is to break down barriers in dealing with crafts (DIY) and programming and to connect these areas together.
Ten school classes were able to participate in the summer semester. Over the last few weeks, different groups of 10 to 18-year-olds came to our do-it-yourself area. The young people worked creatively on projects that combined craft and digital elements. The workshop lasted 90 minutes and consisted of two phases. In Phase 1, an object was built from upcycling materials, and a movable part was created using a 3D pen. In Phase 2, a servo motor was programmed to move the part modeled with the 3D pen. The programming was done using Makecode for micro:bit.
The 90 minutes were very limited and were intensively used by the students. Animals with movable body parts or vehicles with windshield wipers, etc. were created. The initial experiences showed that the students enthusiastically embraced the project and developed exciting, innovative solutions. We are prepared for the second workshop round in autumn 2024 and look forward to being able to incorporate the experiences we have gained now.
Code’n’Cut – Creative Workshops by bits4kids at Primary Schools

In March 2024, bits4kids conducted workshops in collaboration with five partner primary schools as part of FABulous Exploring. The aim was to gather experiences with programming and a cutting plotter in the school environment. As part of this, the first Code’n’Cut concept is to be evaluated.
A cutting plotter is a computer-controlled machine that allows for the cutting of objects from various materials. This ranges from creating stickers and printing on T-shirts to simply designing figures out of paper or foam rubber.
Im Code’n’Cut Workshop lernen Schüler:innen der 3. und 4. Schulstufe geometrische Figuren zu Tiermotiven zusammenzusetzen. Aus diesen Motiven werden Grußkarten gestaltet, die die Schüler:innen mit nach Hause nehmen können. Sie lernen Grundlagen des Programmierens, insbesondere das Programmieren von geometrischen Mustern. Die erstellten Muster werden mithilfe des Schneiderplotters in präzise geschnittene Papierformen umgewandelt.
The workshops were a complete success. All students left happily with their greeting cards. Bits4kids is now working on a concept that enables a single teacher to integrate the cutter plotter into the classroom. Moreover, work is already underway on an extension for the upcoming series of workshops, which will start in early May.
Project Goals
- Further development of the Pocket Code app
- Control of devices similar to Maker Spaces
- Inspire students in technology
- Create course concepts for schools
Partner Schools
Projects with the Cutting Plotter
A cutting plotter is a device that can precisely cut materials such as paper, foil, vinyl, or fabric using a small, sharp blade that is moved along a computer-controlled rail. In the advertising industry and textile finishing, cutting plotters precisely cut out logos, banners, and lettering. Technically, it works similarly to a printer, but instead of ink, a blade is used that moves along predefined paths to cut contours created by software. The movements of the blade are controlled by stepper motors, which precisely direct the X and Y axes to cut out detailed shapes.
A cutting plotter offers many creative applications for teaching.
- Create and cut stickers
- Cutting vinyl foil that is ironed onto T-shirts or bags.
- Create greeting cards
- Cut out shapes from vinyl, paper, fabric, foam rubber, cardboard, and plastic
With the plot extension in the app Pocket Code, custom designs can be programmed and transferred to the cutting plotter. A cutting plotter works with SVG files.
SVG is a file format for graphics that allows images to be scaled up or down losslessly, as it consists of lines and shapes instead of pixels.
Fabulous Exploring E-Learning (german)
Guide to Programming SVG Graphics with the Pocket Code App
Getting Started with Plot Elements
Creating SVG Graphics with the Pocket Code App (for the cutting plotter)
Tutorials for Downloading and Programming
With a click on the respective image, the tutorial will be downloaded.


The tutorials can also be downloaded here:
Christmas-Card Tutorials
Cooperation Projects
As part of the project, independent (content-appropriate) cooperation projects take place.
The cooperation projects will be uploaded to our site during the course of the project.
Construction of a Microplastic Collector (german) – BORG Lauterach
Related Projects
Creative Coding – bits4kids
In the “Creative Coding” project, you will find a curriculum for a Creative Coding project at your school.
Here you can find lesson plans and more information on how to design, program, and then stitch designs with your students using a programmable embroidery machine.
E-Textiles
At TU Graz, conductive yarn was processed with the embroidery machine. This allowed the embroidery designs to light up.

Material
First, we need high-quality conductive embroidery thread. We have excellent experiences with the conductive embroidery thread from Madeira. Naturally, other brands offer similar products as well, but it is important to always pay attention to conductivity. Additionally, LEDs are required. We can also provide a product recommendation for this. It is also practical to have a battery holder with an on/off switch. Here is an example of a battery holder that we can recommend. There are also alternative models that can be found here. Battery holders are also available on Amazon.
Tutorial
Immerse yourself step by step in the fascinating world of e-textiles with us. Discover the endless possibilities and creative applications that this technology offers. On this website, you will find not only a brief summary of the necessary materials but also a variety of helpful tips and instructions to support you as you embark on your projects. For many different designs, you will find step-by-step instructions there. Let yourselves be inspired and create your first own electronic textile projects.

Patches
In this section, we provide small insights into the creation of the depicted patch:
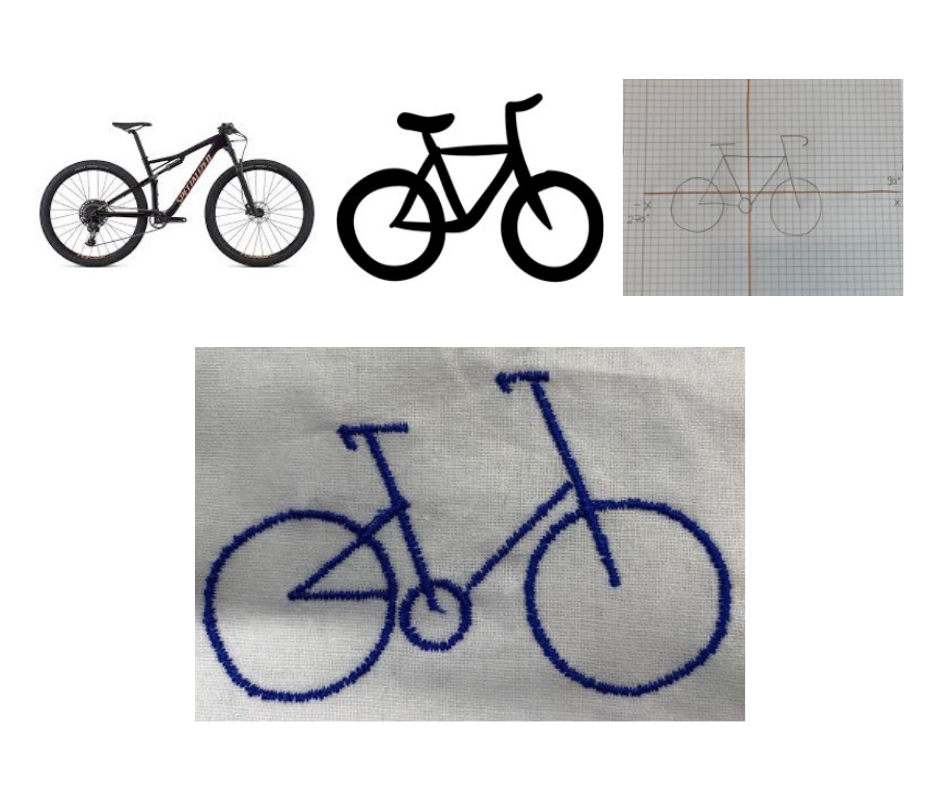
Step 1: First, the self-programmed design was stitched using the Pocket Code app (or Turtlestitch) with the embroidery machine.
Step 2: Then, the fabric around the patch was carefully cut away in the hooped frame.
Step 3: The frame was reinserted into the embroidery machine, and the outline of the patch was stitched.
Step 4: Finally, the patch was cut out from the embroidery material.

Material
To get started properly, it’s advisable to first gather a wide selection of embroidery thread colors. We recommend an embroidery thread box that contains a variety of colors. One example is the embroidery thread box with 96 colors from Amann. Individual colors that run out can then be purchased separately. Black is often used up very quickly.
It is especially important to ensure that the yarn used is indeed suitable for embroidery. We recommend high-quality branded products such as embroidery thread from Sulky, Amann, Gütermann, or Madeira. From our experience, we can say that using non-branded embroidery thread can quickly lead to negative experiences.
Additionally, a bobbin thread is also required. We recommend the Bobbins Box from Madeira, as it is extremely practical.
Realization
In this section, you can find some links for assistance in realizing stitch pattern programming.
On this page, you will find everything you need to dive into the world of embroidery programming, including step-by-step guides and video tutorials. There are numerous designs to try out, available in various difficulty levels. Here, you can find guides on embroidery pattern programming from the University of Education in Schwyz. A more general introduction to various types of stitches (when machine embroidery) can be found here.
The FFG is the central national funding organization and enhances Austria’s innovation capacity. This project is funded by the FFG. www.ffg.at
You must be logged in to post a comment.