In this tutorial, you will learn how to create objects, with which you can later embroider your patterns.
For this tutorial, you should already know how to create a project. Take a look at the tutorials from the Starter series, if you need some help.
For more information or design suggestions, feel free to check out the other tutorials.
Here you can download the tutorial in PDF-format:
- Click on the plus button at the bottom right of your project to add a new object.

- To select a image, go to the media library.

- An Embroidery-Object represents one level of the needle of the embroidery machine. Several Embroidery-Objects will be embroidered one after another. That enables the possibility to use several colors.
You can select your object depending on the color you want.
Scroll down and search for the fitting arrow.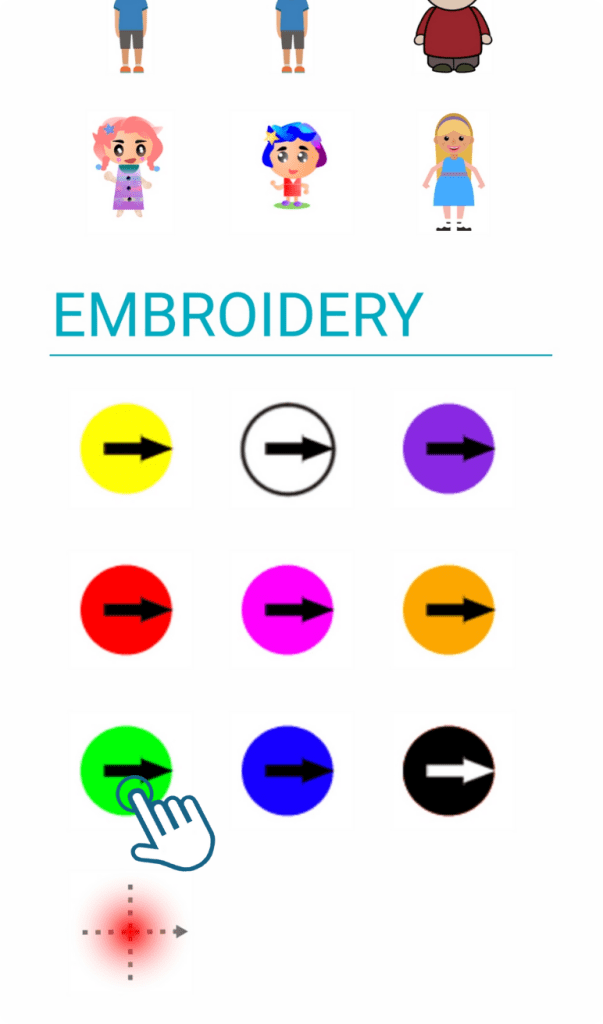
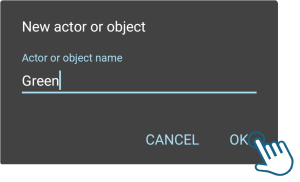
- Give your new object a suitable name and press OK.
- You have now created a new object. You can now add a script and program the object.
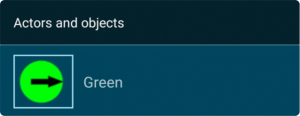
Now you know how to create an object. Add a new object for each color you want to use.
You can add a script in each color and program your very own designs and even embroider it later.
Do you need inspiration or help? Take a look at our other tutorials!