In this tutorial, you will learn how to create a new object in your project and the different possibilities you have for this.
To do this, you should already have downloaded the Pocket Code app and know how to create a new project. If you need assistance with this, feel free to have a look at the New Project-tutorial.
Here you can download the tutorial in PDF-format:
- Create a new Object
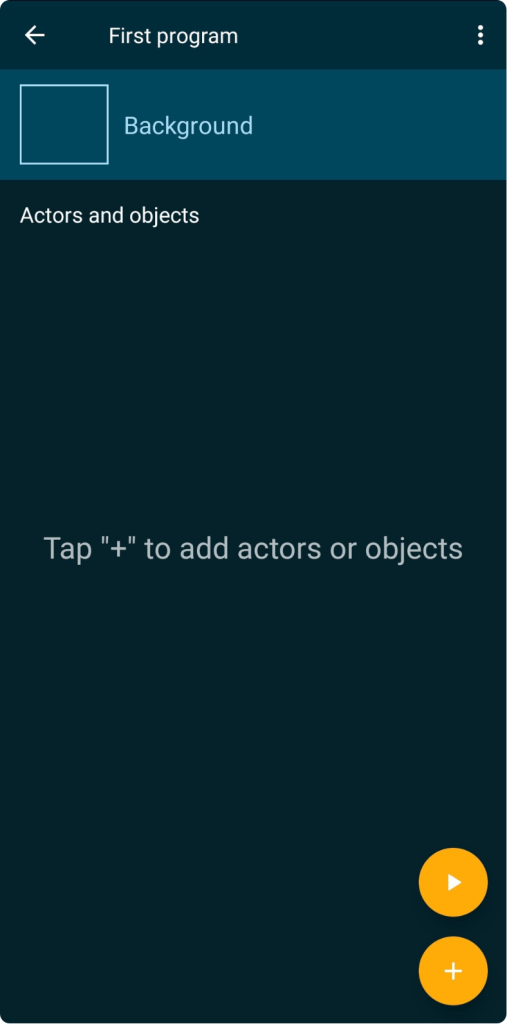
At first, you need to open your new project.
You will find it on the homescreen of the Pocket Code app. If you have more than one project, you can click on “Projects on device”. Then select your new project. If you have not created a new project or need further information how to do that, have a look at the New Project-tutorial. - Create a new Object
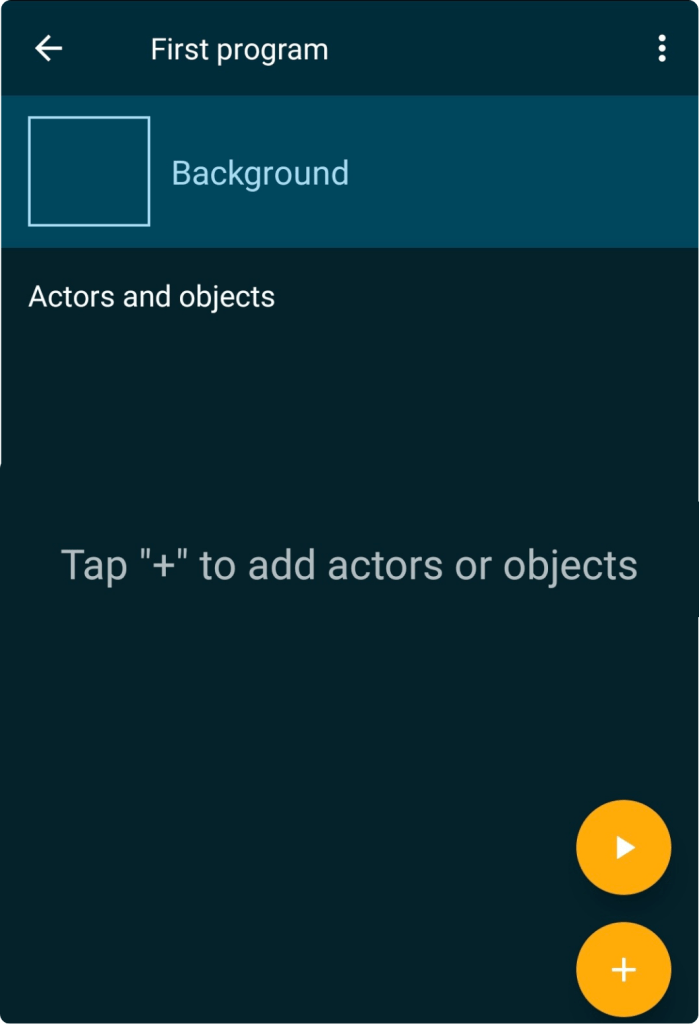
Now you are ready to create a new object. To do that just click on the yellow plus-button on the bottom right corner. You will see a new window giving you seven possibilities to choose from.
- Ways to Create
This are the possibilities you can choose from:
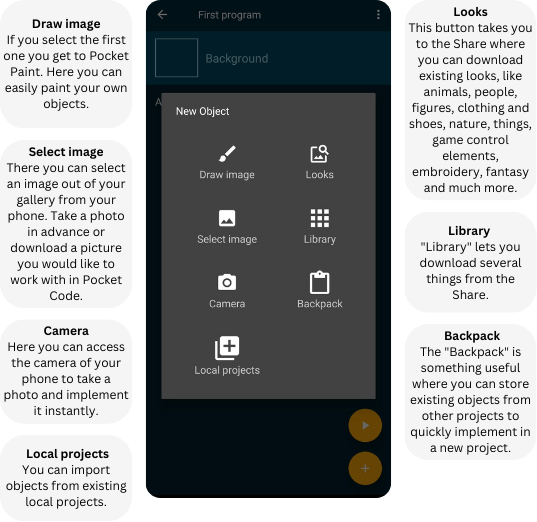
- Draw Image
To make it as easy as possible for the beginning, we want to use the “Draw image” function and just draw a dot. When you have drawn the dot with Pocket Paint you can quit it (by going one step back).
- Give a name
Now you have to give your picture a name.
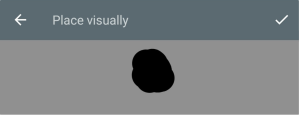
- Place it
After that you have to place it visually by shifting it to the left/right or up/down with your finger. You have to save it with the button in the top right corner.
- You made it! You created your own new object.
Now you have a project with an object that you can program!
To do this, you should know what brick are available. The First Bricks-tutorial gives you a good overview of the different categories of bricks. However, you can also start directly with your first project. Choose a suitable tutorial from the Beginner series.
You must be logged in to post a comment.